Header Bidding for the WordPress. Use Case.
WordPress is the most used site and blog creation tool. Therefore, a lot of publishers require to install header bidding wrapper in order to monetize their property. Within the following several screen-shots and a brief explanation, we’ll try to give a piece of advice on how to install header bidding wrapper into a WordPress site. This use case is based on the HeadBidder tool and we assume that a Publisher has already created a “site” in the Headbidders’ UI. However, all steps are well described in the Headbidders’ UI documentation. Let’s go.
1. Start from choosing Ad spots
Step one. We have a site with two ad spots – first in the top/header, second in the right sidebar.

2. “Template” and “Theme”
Step two. As the site owner, you have full access to your site code via FTP (SFTP). Usually, site design is made using “templates” or “themes”. Try to find a proper folder with your active template, something like “/www/wp-content/themes/theme_name”:
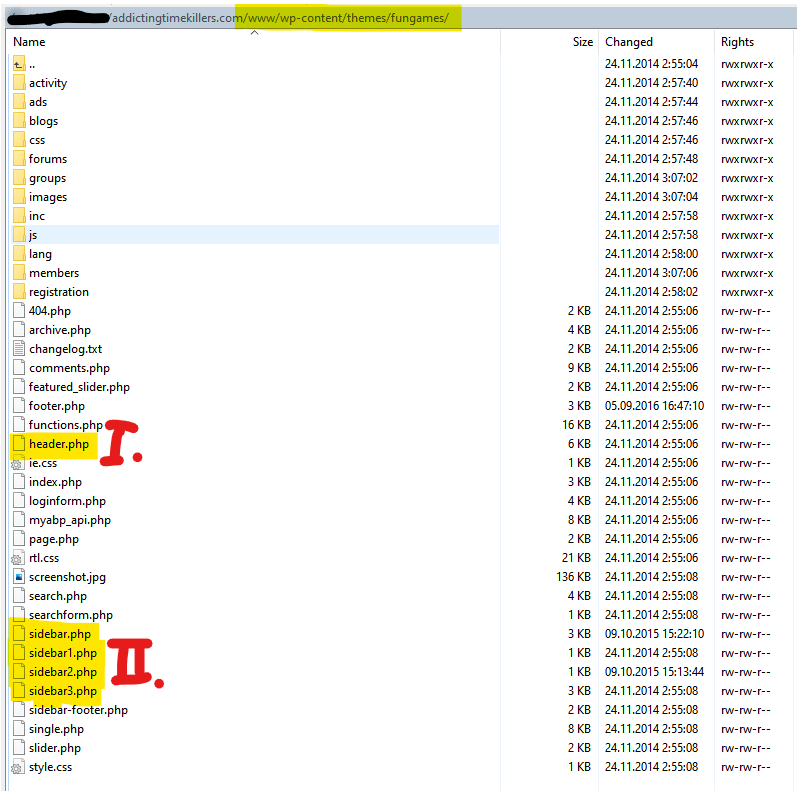
You’ll need to edit files “header” and “sidebar” (one of sidebars).
3. Adding GDPR and CCPA
Step three. GDPR, CCPA, etc. user privacy laws are on the rise. Assume you use the Quantcast Privacy tool. Add the site into UI and get the Consent Tool HTML code. You’ll need to install it into the site header.

4. Getting the code
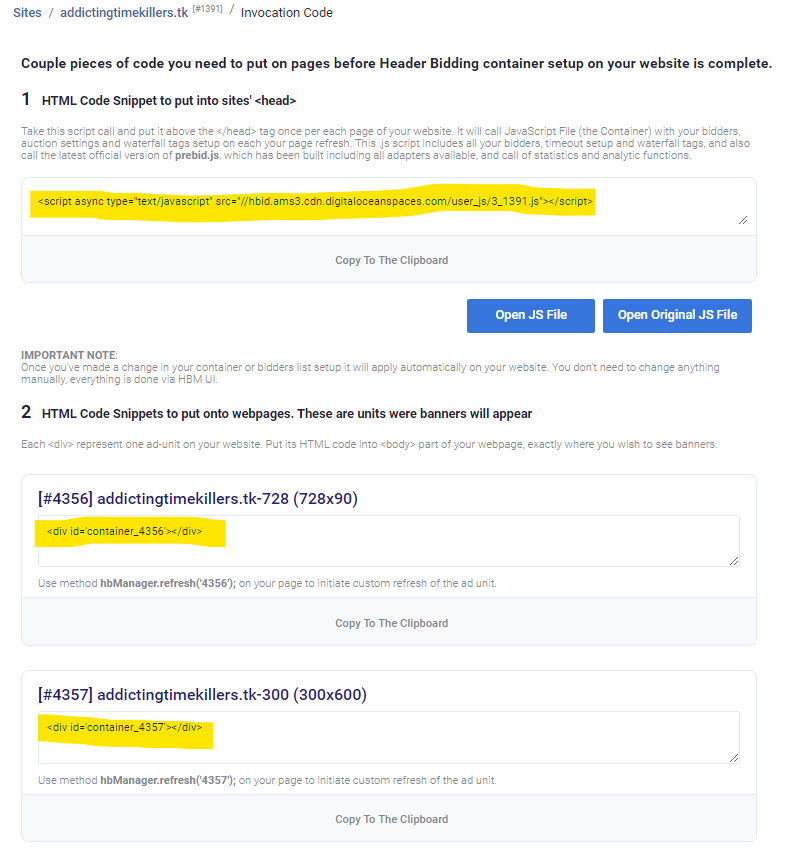
Step four. You’ll need a code from HeadBidder UI. Go to Site/Get Code and prepare head scrip and ad spot DIVs.
5. Quantcast CMP script
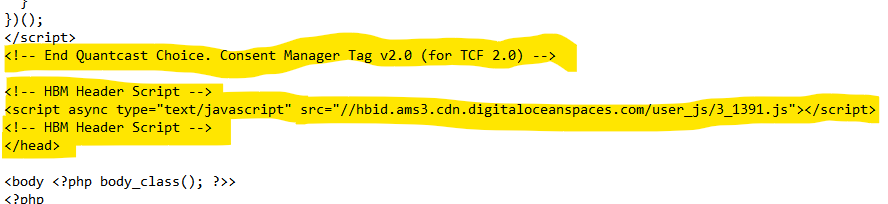
Step five. Into the head part of the site, before the tag, please insert the Quantcast CMP script and then HeadBidder Head script.
6. Header DIV on WordPress site
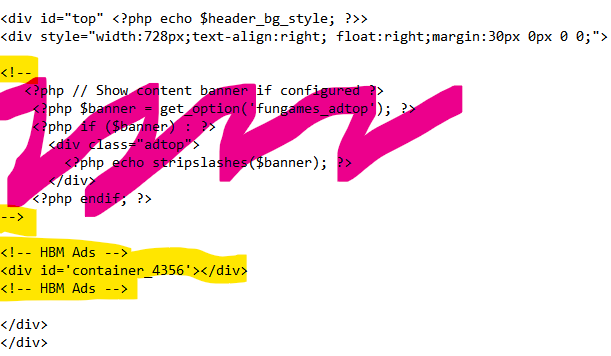
Step six. Then, in the header file, please try to find out the place where the top banner appears. Programmers usually use DIV names that clearly define what this DIV does.
A tip. Often you’ll need to remove a part of HTML code and replace it with a new one. Try to be careful, don’t delete but just comment useless part of code with comments:
Comment starts with – “<!–” and finishes with – “–>”
You’ll be able to experiment with your HTML using such an approach.
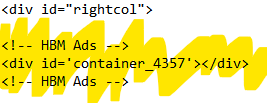
7. Sidebar DIV
Step seven. Do the same with the sidebar. Note, the head script is added only once per page in the header. In the body part, you’ll add DIVs only.
8. Header Bidding on WordPress site is done
Step eight – finally, it works!